
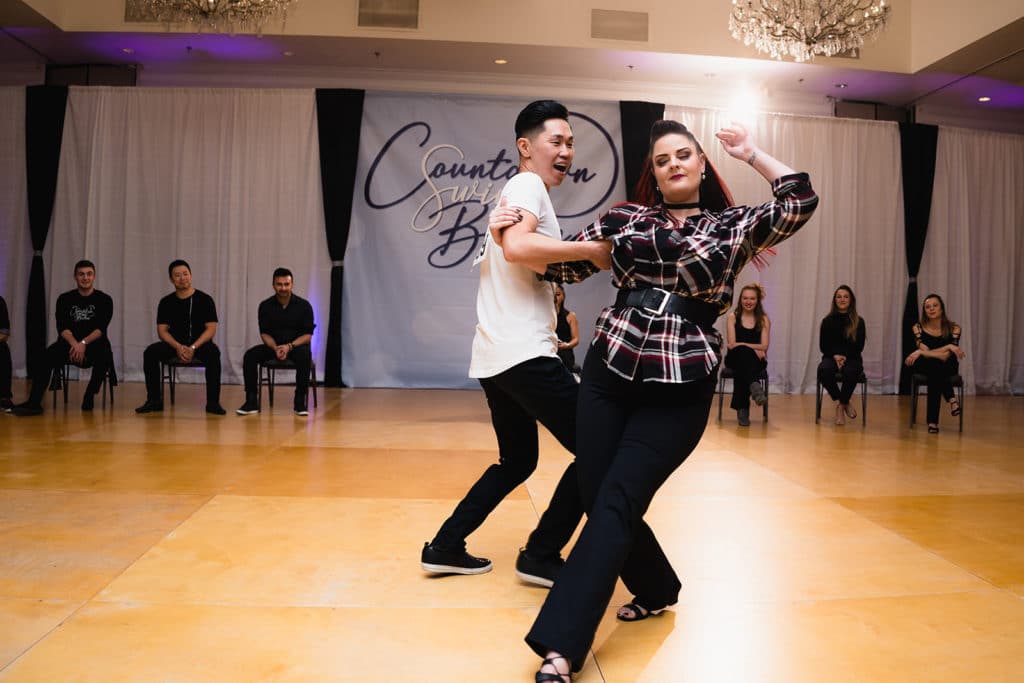
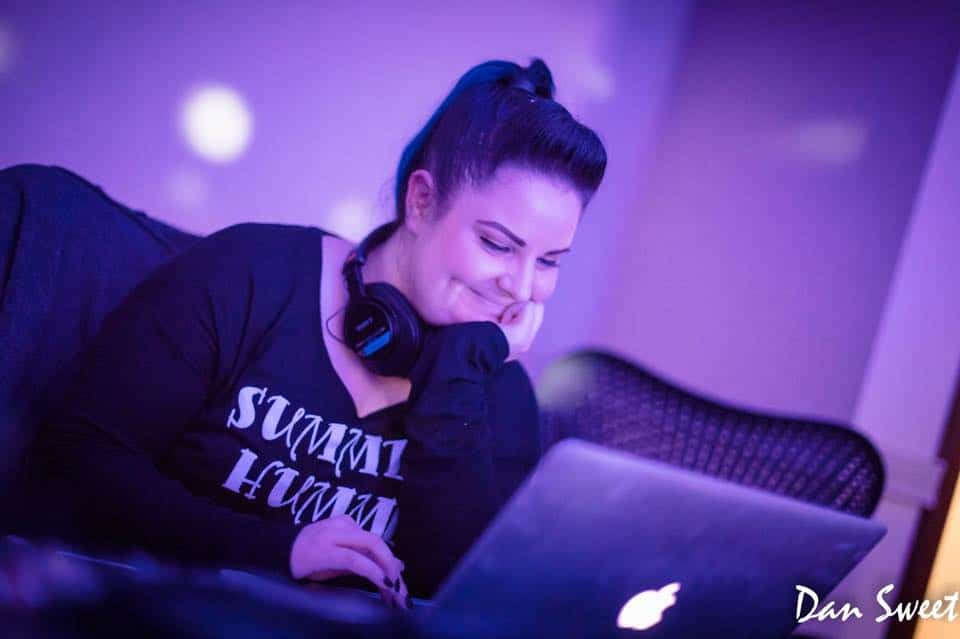
Kristen Shaw has had a career in video production for a decade. From casting to programming to production to editing, Kristen’s seen it all. She honed her skills working in live sports, and while Kristen’s primary career is in video production, she’s created a second career for herself in dance.
Currently one of Kristen Shaw’s personal goals is to help “raise the production quality of the videos in the West Coast Swing world.” Recently Kristen hosted an online event to share her insight.
How to Make Your Videos Not Suck 101 was a Facebook Live event crafted to help artists and instructors better their online dance videos. Here are some great tips from Kristen Shaw for leveling up your livestream online dance class:
Solve your issues before they happen with pre-production work
- Research: Google is your friend. Kristen figures out a lot of her technical questions just by Googling them. If she had issues during production she’ll also use Google after the fact so she can level up her next broadcast or recording session.
- Testing: Test, test, test! TEST AGAIN, TEST ONE MORE TIME. You might feel like it’s over-kill but if you can catch issues with audio or internet connection before you go live, you’ll save yourself some stress.
- Plan: Write out a flow for your stream or video and know the timing. This is an important step regardless of whether it’s a live video or a video you’re shooting and editing.
Get your gear ready
- Camera: You don’t have to have fancy new tech to get rolling, but at the very least you should shoot in a 1920 x 1080 aspect ratio. Fortunately, this is often the standard for modern smartphones, DSLRs, and most camcorders. You should also make sure your lens is clear – simply take a cloth to it and wipe it clean. Keep in mind that camera position is important! You don’t want to be looking down at your audience or to cut off the top of your head. It’s usually best to orient the camera so that the video is horizontal and to utilize a tripod so you have a stable shot.
- Lighting: Three-point lighting is often ideal. You want to have a light in front of you to light your face, a light to fill in the side of your face if it is too dark on the side, and a backlight to give you depth as well as to separate you from your backdrop. Try to make sure your lighting colors match. Mismatched lights can be distracting.
- Sound: In an ideal world you’d have an external microphone, which would create a clearer sound than just recording it directly through your device. Kristen recommends a lavalier microphone, which you can buy pretty cheap (in the ballpark of $15). If you’re capturing sound with an external microphone for editing post-production one easy option is via an app you can download called Voice Recorder Pro. Also, be cautious about loud clothing. Certain materials can cause audio disturbances.
- Internet/Software: Make sure you’re by your router and that it can handle streaming. You may also need to invest in software if you’re streaming it to multiple places. The software OBS (Open Broadcaster Software) can help you control more sources of audio while streaming.
Production Tips
- Be ready early: In the production world being on time is being late!
- Keep it movin’: Know how you plan on entering and exiting your material. Be aware of timing. Have a clock near you or have someone keep track of time.
- Presentation style: Know who you are and be true to it. Audiences can sense fake a mile away.
- Interactions: On livestream, engage with the chat and questions. It makes people feel valued and helps you keep the pulse on what people want to know.
- When things go wrong: Things will go wrong. Keep calm and know you are likely panicking more than anyone else. Sometimes you’re the only one that realizes there’s a problem. If it was a big mishap, acknowledge it and move on. If it was small, brush it off.
Thoughts for Post-Production
- Recap: Be honest with yourself and have a conversation with those you trust to find out what worked and what didn’t. There is room to grow in any situation, even if things go well. Don’t take criticism as a personal attack!
- Editing: If you choose to edit your video, you’ll need editing software. Kristen primarily uses Adobe Premier, but it is a little bit of an investment and there are plenty of other, less expensive editing software options out there. When editing, music choice is important. Make sure your music matches the mood of the video! Kristen recommends AudioJungle as a cost-effective place to purchase royalty-free music. If you add text graphics, consider the screen size your audience might be watching on. Thin text doesn’t really work as well for video. Thicker text that is clean and easy to read often works best.
- Be open to growth: Just start somewhere. Kristen Shaw often stopped before she started because she held herself to a standard that was impossible to achieve with what she had at hand. But don’t stress it – you can improve each time. Don’t stand in your own way.
Do you want to learn more about Kristen Shaw’s experience as an editor, dancer, and creator? Check out her website!
Want even more tips from experienced dance teachers about how to make better online dance classes? Read this article on 7 Things to Consider Before Hosting an Online Dance Class!